AEM Offer
To show different experience we can use offers to target or personalize specific group of audiences. We can also say offer is a collection of segments.
e.g. We can create various segments to show image or text depending on type of browser.
Steps To Create and Apply Offer
Lets try to understand step by step process to create and apply offer on the page as mentioned below:
Step1: Create two different segments for browser as Chrome and Not Chrome.
Step2: Create Brand folder. As part of brand, create Chrome and Not Chrome offer.
Step3: Open a page and select specific segment as Chrome and Not Chrome.
Step5: Select respected offer for every segment.
Follow link to enable targeting and create Chrome and Not Chrome segments.
To proceed further and as pre-requisite, follow below steps to enable Targeting and create audiences(Chrome — Not Chrome) for our site which will allow us to consume created offer and show different experience or content view depending on resolved segment.
Create Brand and Offer
Follow below steps to create brand and offer on top of created audience:
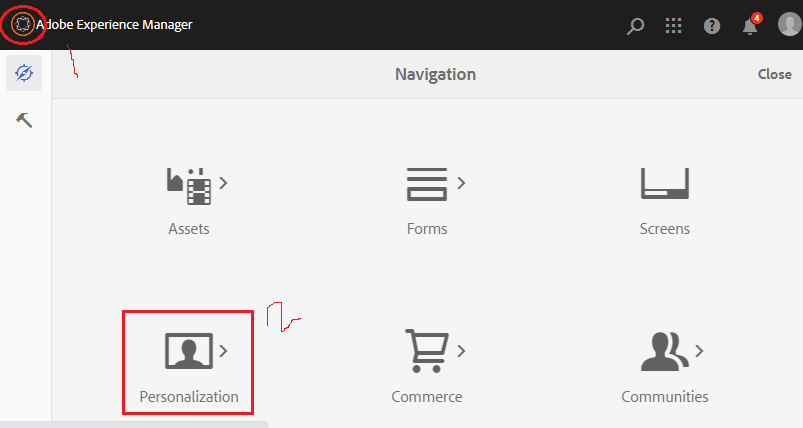
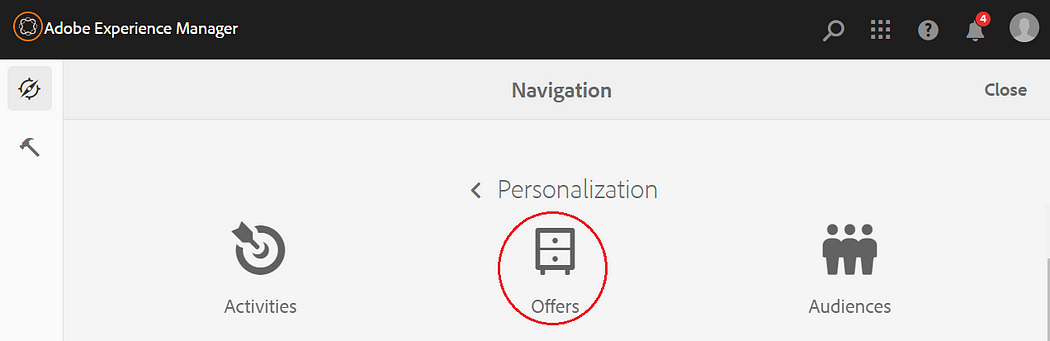
- Click on Adobe Experience Manager logo → Personalization → audiences → Select project.
2. Click on Create button and select Create Brand.

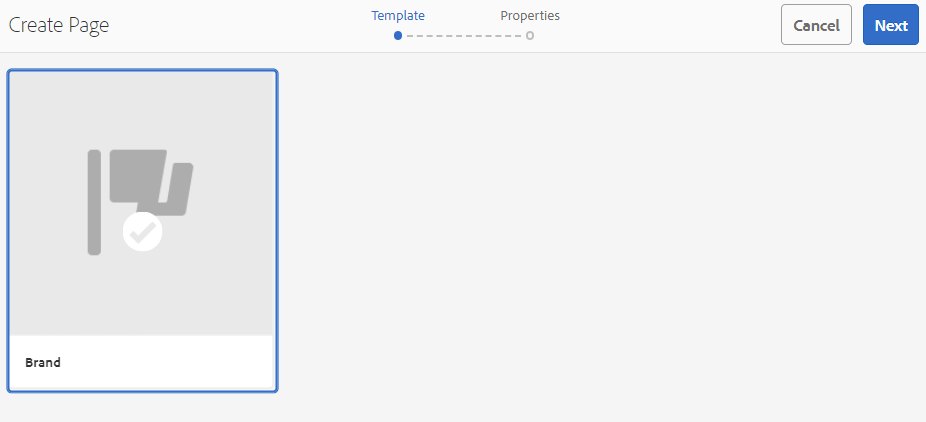
3. Select Brand template and click on Next button as shown below:
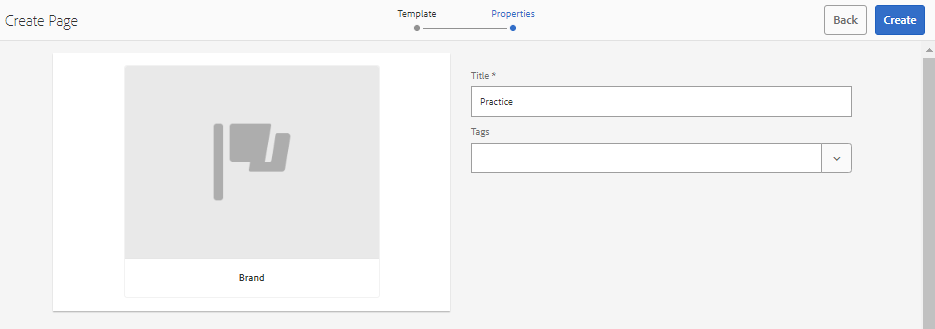
4. Provide Brand Title and click on Create button:
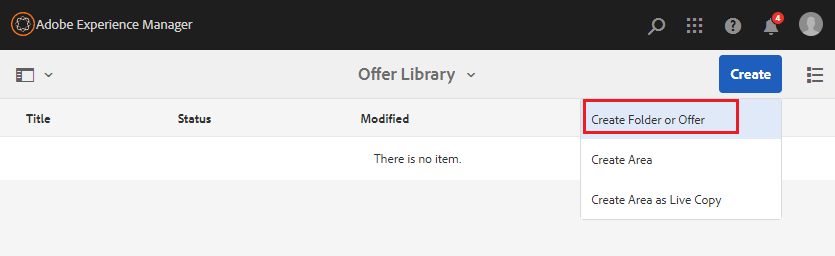
5. Select and traverse inside created practice brand as part of earlier step. Select Create Folder or Offer option and click on Create button:
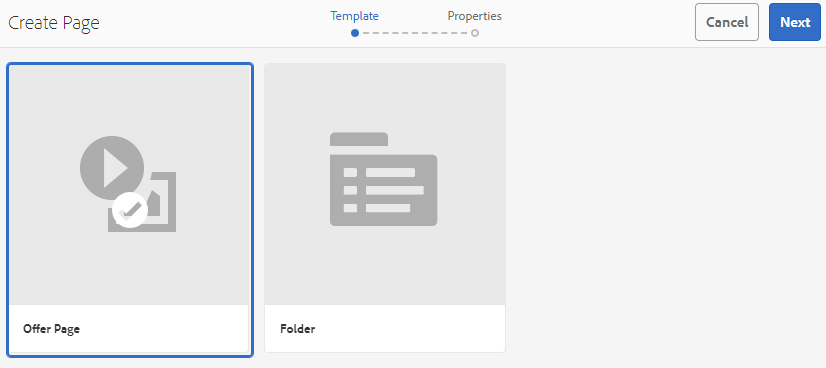
6. Select Offer Page template to create a offer and click on Next button.
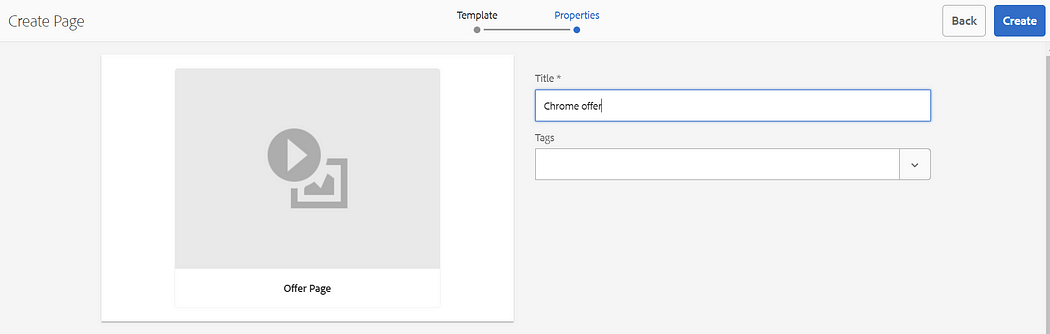
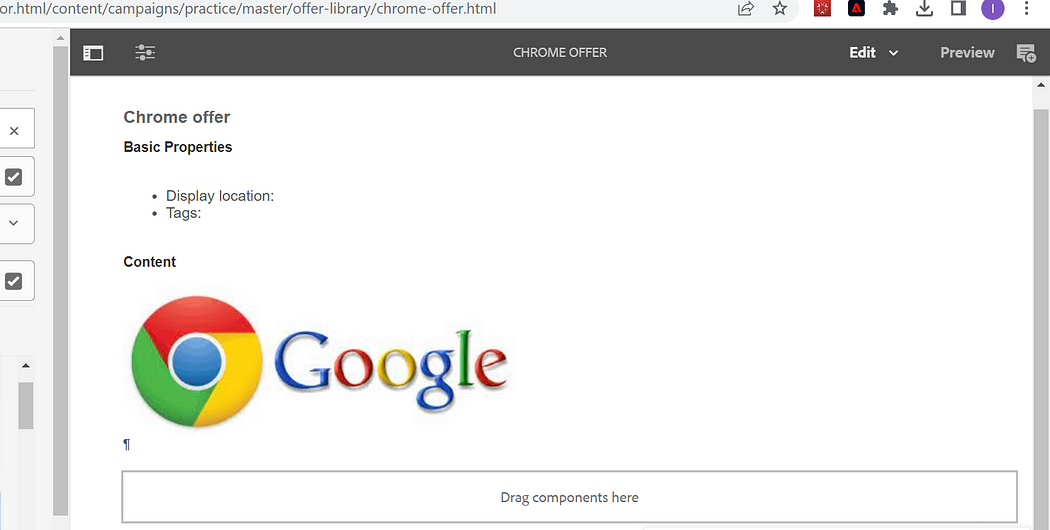
7. Provide Offer Title as Chrome Offer and click on Create button as shown below:
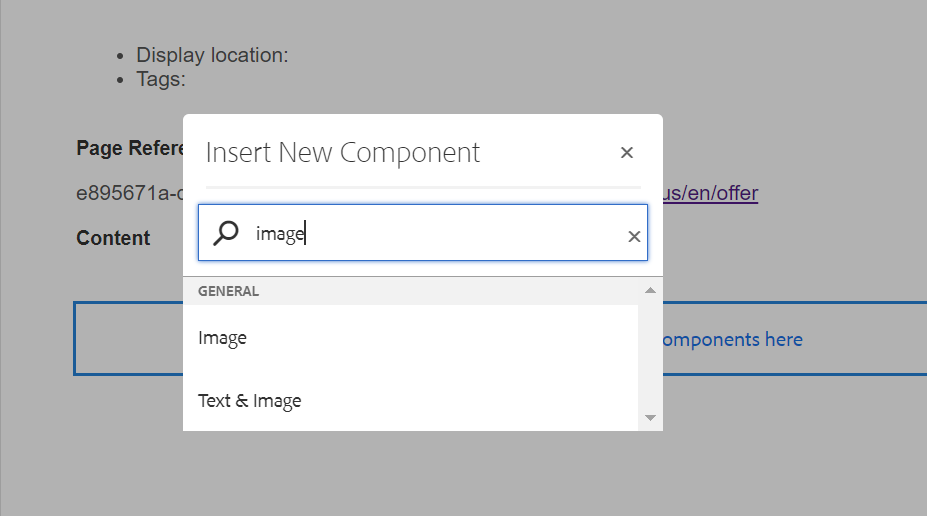
8. Drag and drop Image component on the page as shown below:
9. Author Chrome image as it is offer for Chrome. Below chrome image will load only in chrome browser:
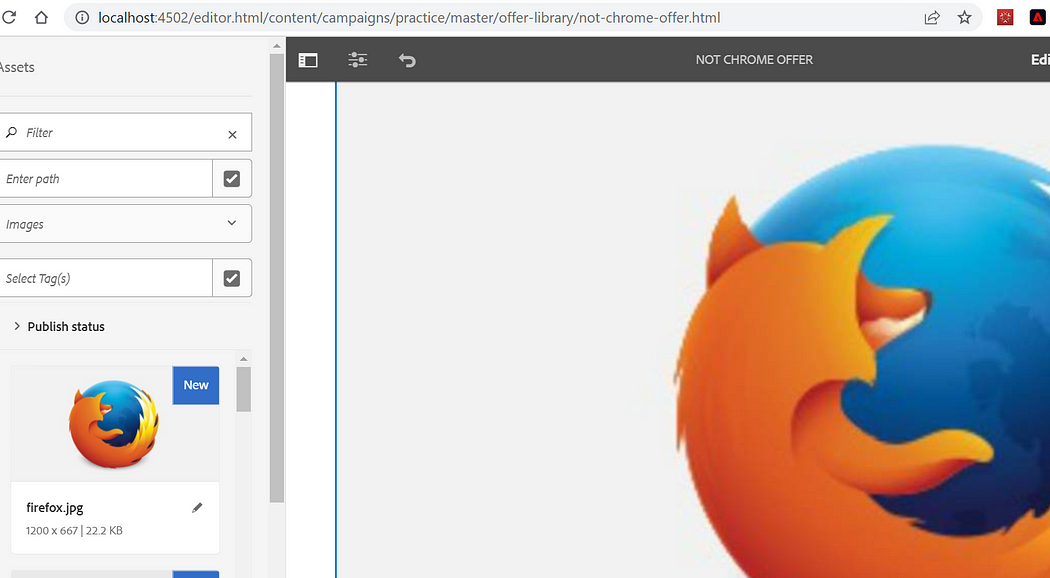
10. Repeat the steps from 4th to 8th, create new page for Not Chrome and author image other than chrome as shown below:
Personalize / Target Image & Text Component using offer
Follow below steps to personalize or target component for specific audience:
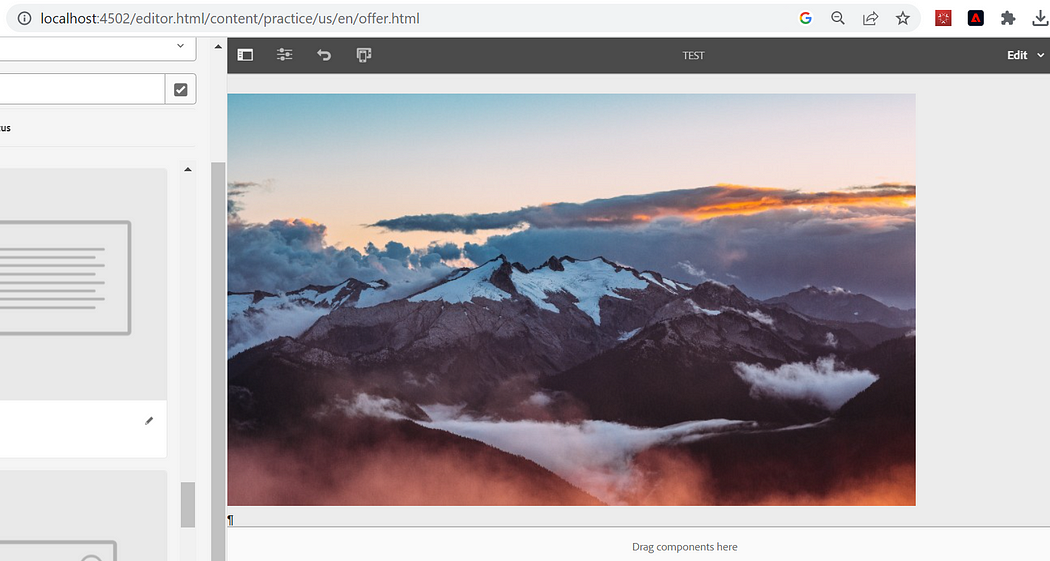
- Create page, drag and drop Image component.

2. Author Image as part of image component as shown below:
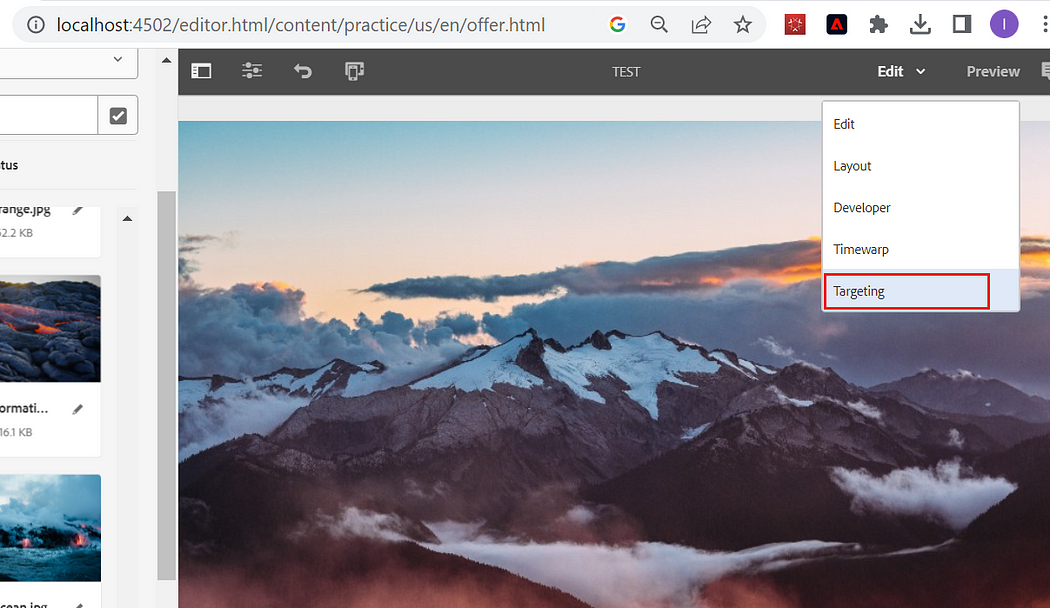
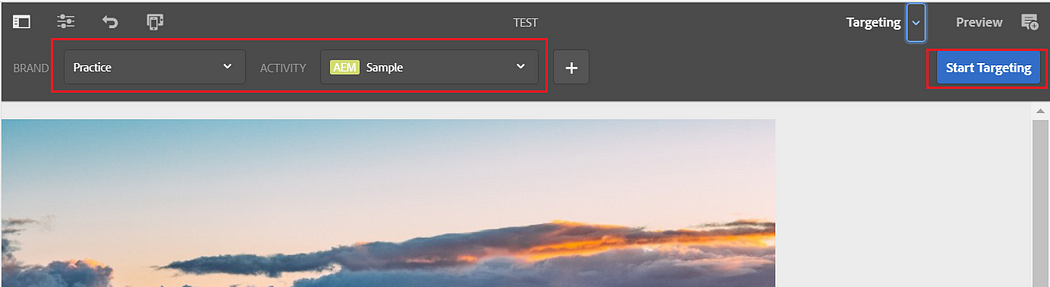
3. Select below highlighted Targeting option as shown below:
4. Select Browser Activity created as part of earlier steps and click on Start Targeting button as shown below:
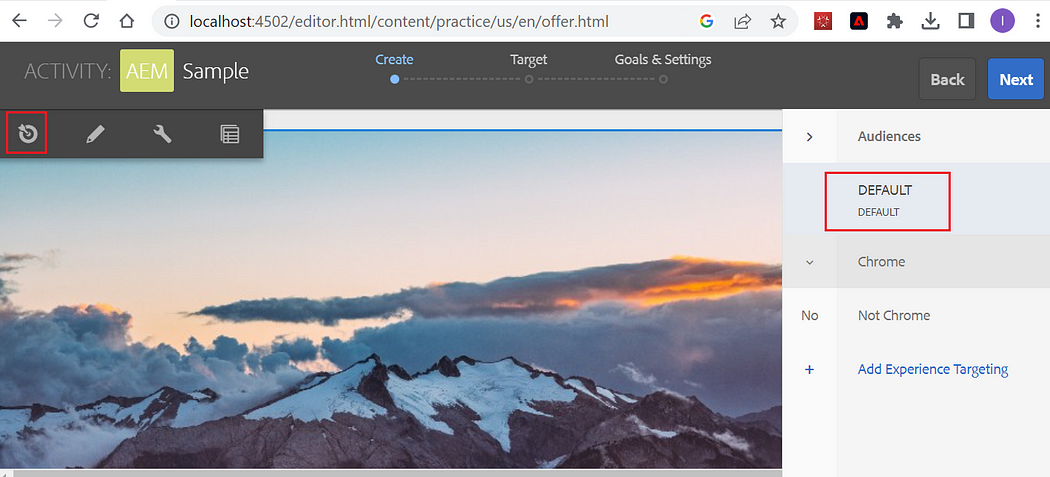
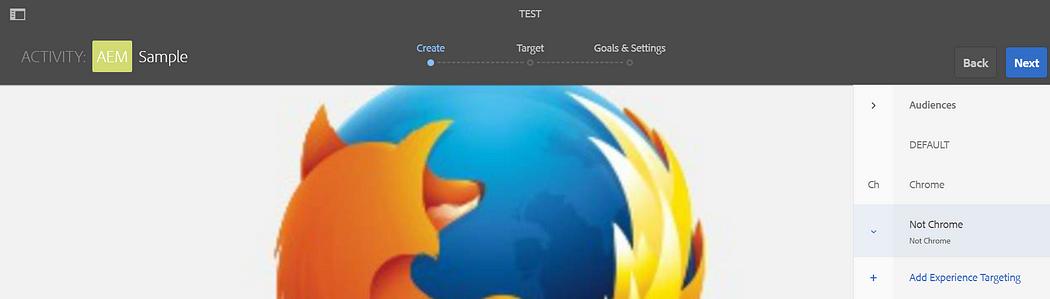
5. Select DEFAULT option and select highlighted Target icon as shown below:
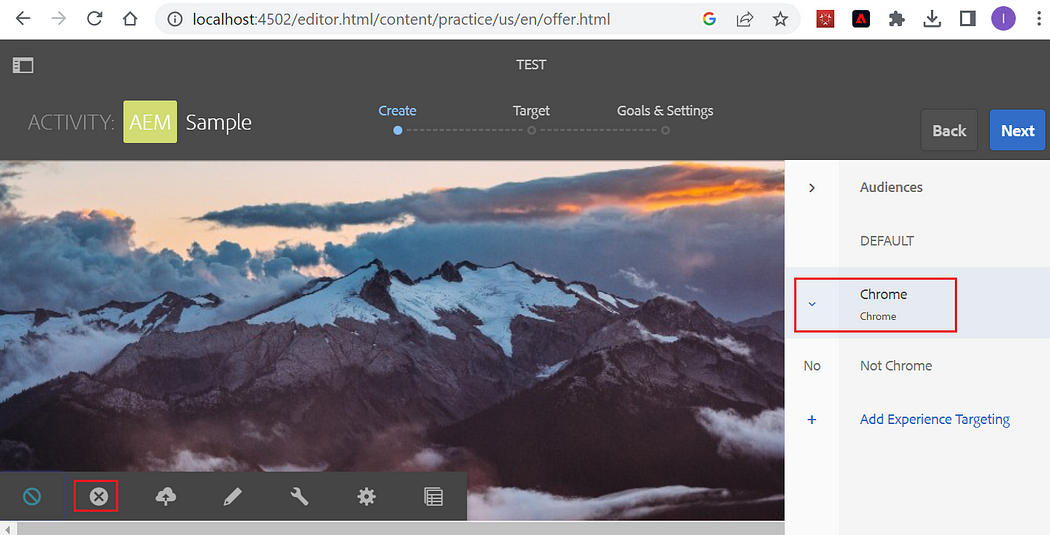
6. Select Chrome as targeting experience. Click on remove offer icon highlighted below:
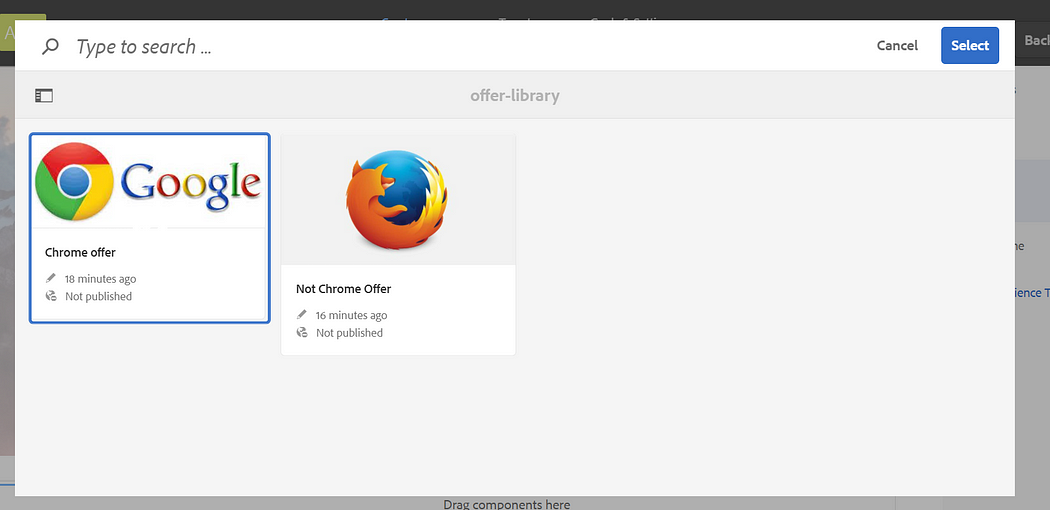
7. Select below option to author Chrome offer:
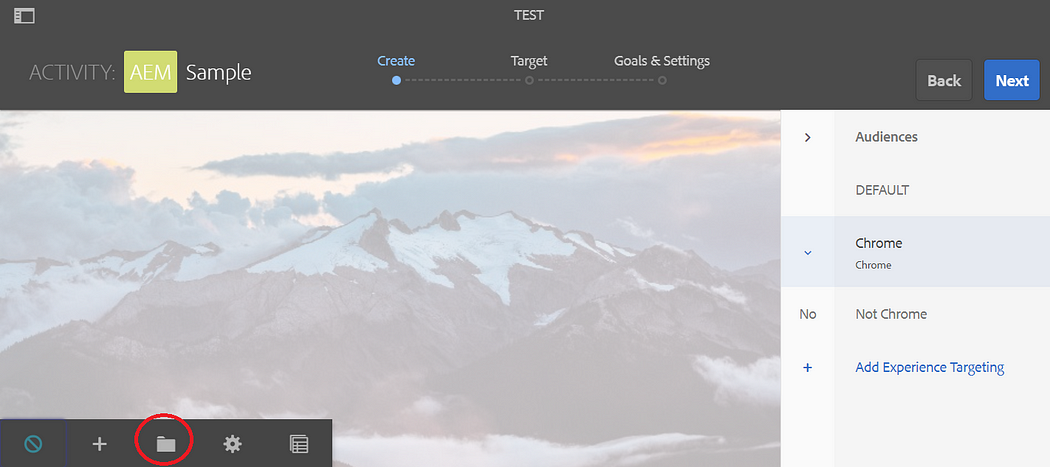
8. Select Chrome offer and click on Select button.
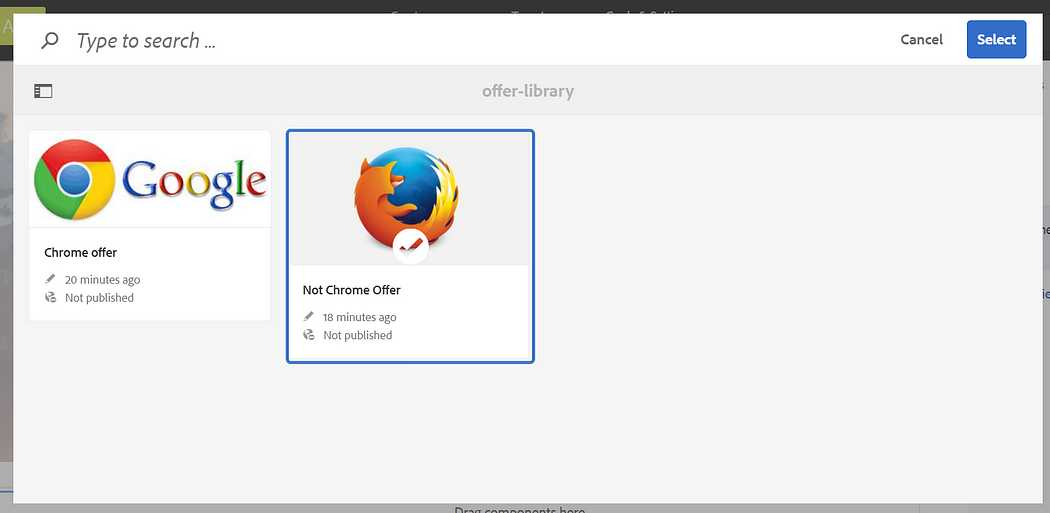
9. repeat the same step for Not Chrome offer as shown below:

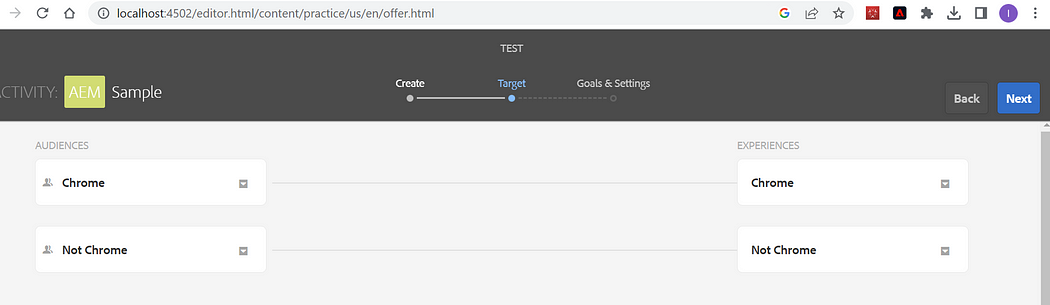
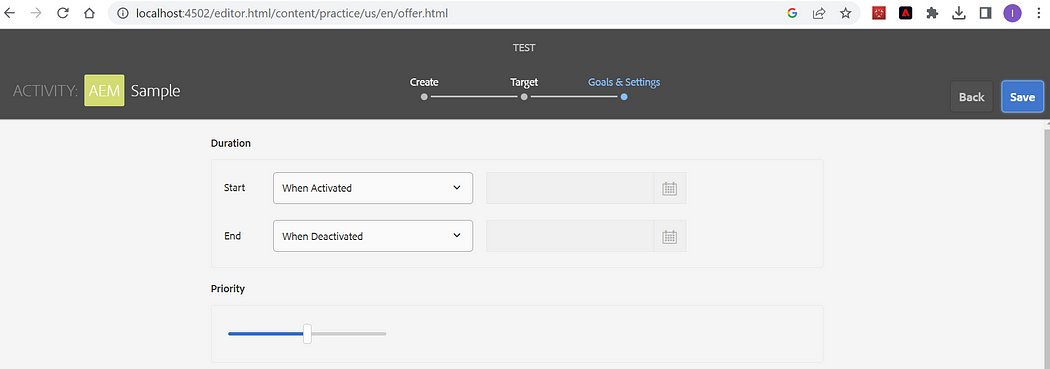
10. Click on Next button
11. No changes are require, click on Next button.
12. No Changes are required, click on Save button.
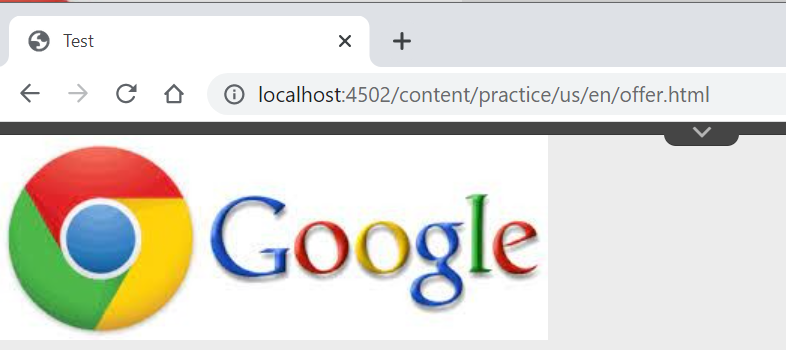
13. Open page in Chrome browser will show below targeted output:
12. Open page in browser other than Chrome will show below targeted output:


Imran Khan, Adobe Community Advisor, certified AEM developer and Java Geek, is an experienced AEM developer with over 12 years of expertise in designing and implementing robust web applications. He leverages Adobe Experience Manager, Analytics, and Target to create dynamic digital experiences. Imran possesses extensive expertise in J2EE, Sightly, Struts 2.0, Spring, Hibernate, JPA, React, HTML, jQuery, and JavaScript.