Javadoubts
ContextHub
ContextHub is JavaScript API which helps us to create, update and delete context data. It mainly used for personalization or to target specific set of users.
Personalization is all about loading user specific data depends on context. e.g. loading different content or experience depends on gender, age, browser, country, etc.
It helps us to manage and resolve segments. Using JavaScript API we can find out which segment is getting resolved.
Enable targeting
By default, it doesn’t come as part of an AEM instance. It will not have below available options:
- It is not showing Targeting option just after Timewrap option.
- In console, it will give error as ContextHub is not defined.

Follow below steps to enable ContextHub as part of our practice site:
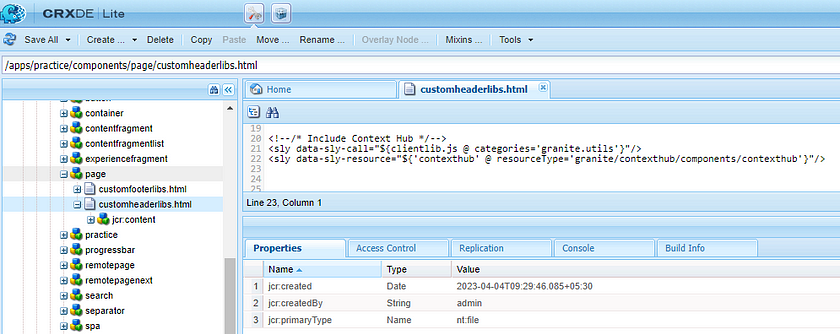
- Add below code snippet to include ContextHub as part of page component as part of /apps/practice/components/page/customheaderlibs.html file.
<!--/* Include Context Hub */-->
<sly data-sly-call="${clientlib.js @ categories='granite.utils'}"/>
<sly data-sly-resource="${'contexthub' @ resourceType='granite/contexthub/components/contexthub'}"/>
Below is the screenshot for the same:
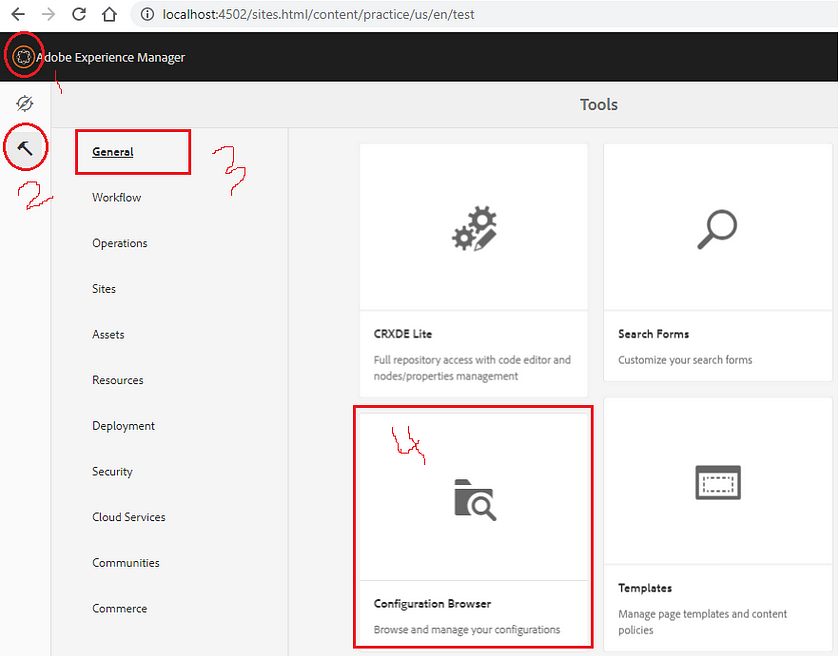
2. Click on Adobe Experience Manager logo → select Tools → General tab → Configuration Browser tile.
3. Select required project and click on Properties button as shown below:

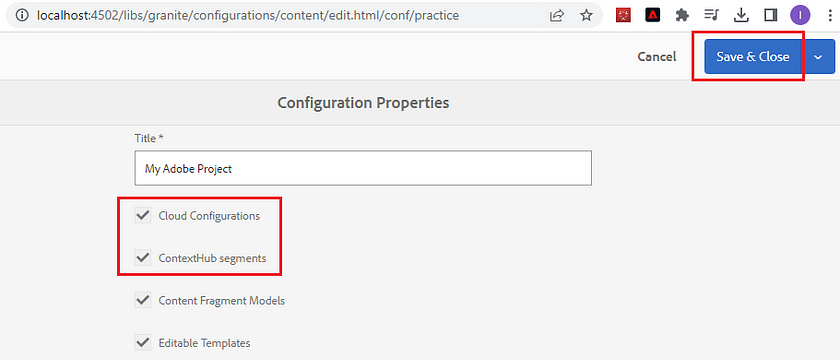
4. Enable below selected Cloud Configurations and ContextHub Segments options.
Click on Save & Close.
5. Now, lets apply Created ContextHub and segments on root page as part of page properties to available for child pages.
- Click on advanced tab and provide Cloud Configuration value as /conf/practice

- Click on Personalization tab, provide ContextHub Path and Segments Path
ContextHub
Path: /libs/settings/cloudsettings/legacy/contexthub
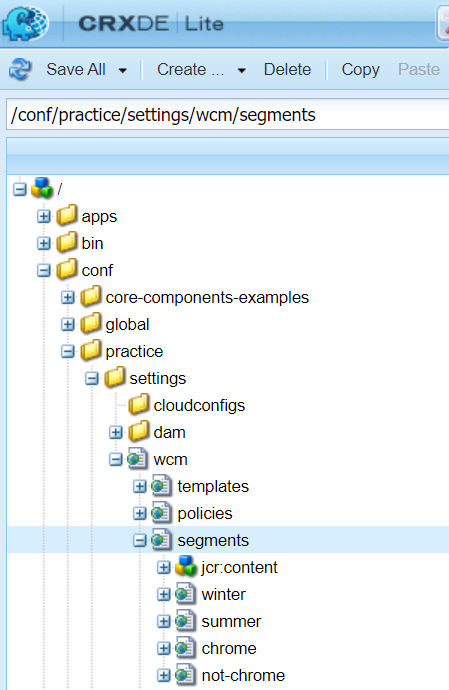
Segments Path: /conf/practice/settings/wcm/segments

Click on Save & Close button to save the changes.
6. After enabling ContextHub, it will start to show Targeting option and print ContextHub data in browser console to show information regarding segments.

7. Select Targeting option will start to show below view where we can target component.

Custom Audiences and Activity
Let’s create custom audience first to show different text depending on resolved context. e.g. If browser is chrome show text as “This is CHROME Text !!!” and for browser other than chrome show other text as “This is NOT CHROME Text !!!”
Follow below steps to create audiences:
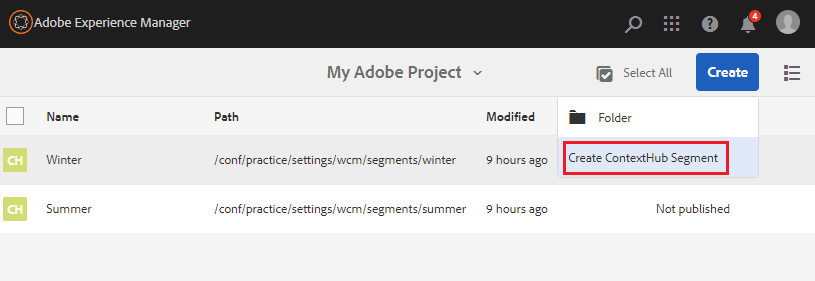
- Click on Adobe Experience Manager logo → Personalization → audiences → Select project.

2. Click on Create ContextHub Segment to create audience or segment.
3. Provide Title and Name for ContentHub Segment as shown below:

4. Select just created audience and click on Edit button as shown below:

It creates all segment related to project under /conf/practice/settings/wcm/segments path as shown below:
5. Click on Drag Components here option and select below highlighted Comparison Property — value option.
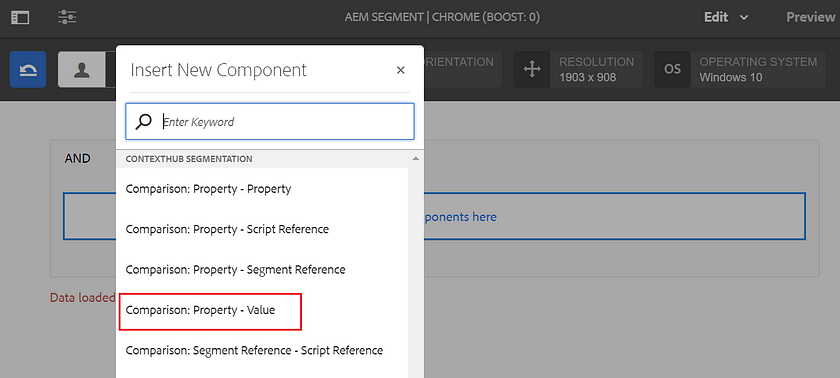
6. Provide below values and save changes. Below segment will get resolve if we will try to load targeted component on Chrome.

7. Select newly created Not Chrome audience and click on Edit button to fill information as shown below. Click on save button to save the changes.

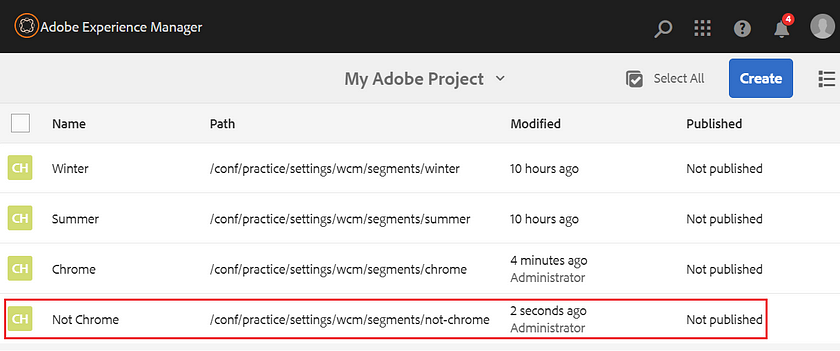
8. Chrome and Not Chrome activity created successfully as shown below:
Activity
Activity is collection of audiences or segments. In our case activity is collection of Chrome and Not Chrome audience or segment.
- Click on Create button and select Create Activity option as shown below:

2. Provide Title and Name of the activity. Select targeting engine as ContextHub (AEM).
Click on Next button.

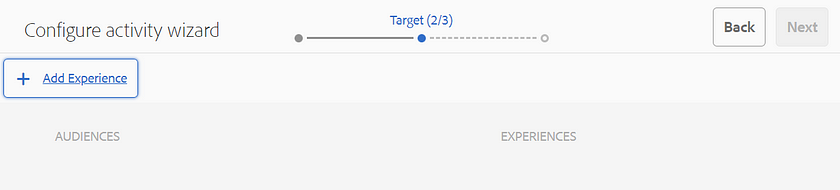
3. Click on Add Experience button to add created Chrome and Not Chrome experience.
4. Select Chrome audience and click on Next button.

Click on Add Experience to provide Title and Name as shown below:

5. Again, click on Add Experience and select Not Chrome audience and click on Next button.

Click on Add Experience to provide Title and Name as shown below:

Click on Next button

6. No changes are required as part of this screen, click on Save.
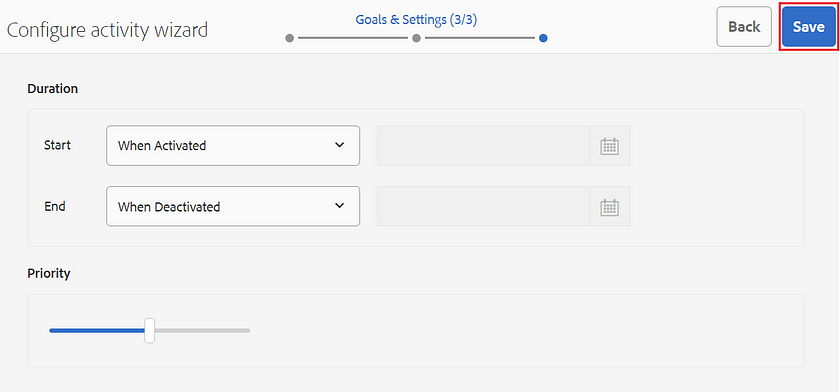
It creates Browser Activity under below path:
/content/campaigns/we-retail/master/browser-activity

Personalize / Target Text Component
Follow below steps to personalize or target component for specific audience:
- Go to any page, drag and drop text component.
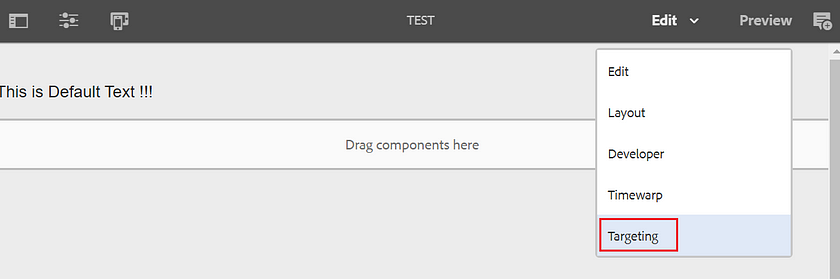
Select below highlighted Targeting option:
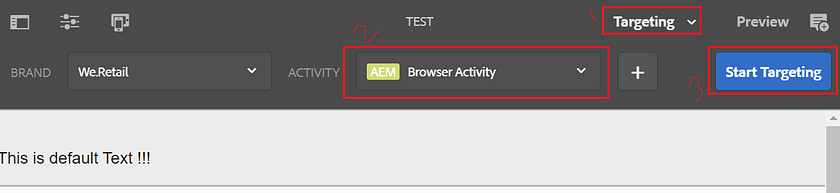
2. Select Browser Activity created as part of earlier steps and click on Start Targeting button as shown below:
3. Select Chrome option on the right side and select target icon as shown below to target text component:

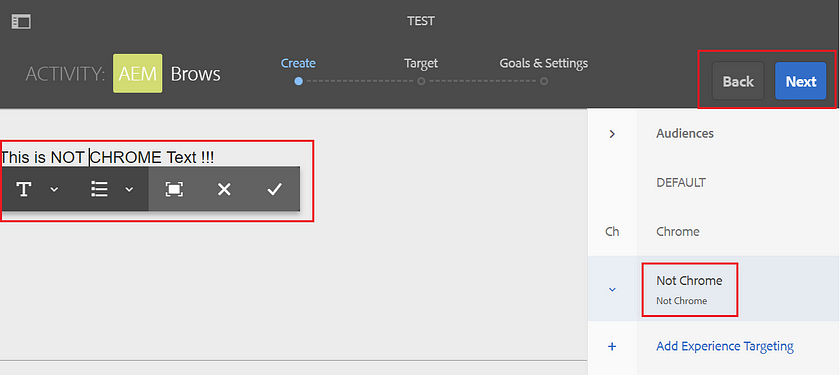
4. Click on edit text button and update text for Chrome as This is CHROME text !!!

5. Select Not Chrome option, update text to This is NOT CHROME Text !!!
Click on Next button as shown below:
6. No changes are required as part of below step and click on Next button as shown below:
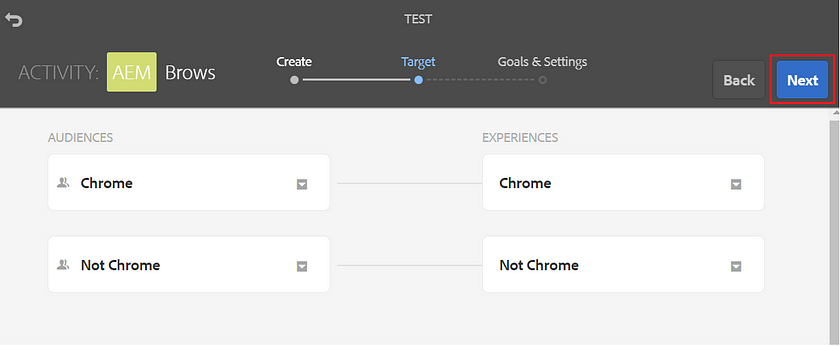
7. No changes are required as part of below step and click on Save button as shown below:

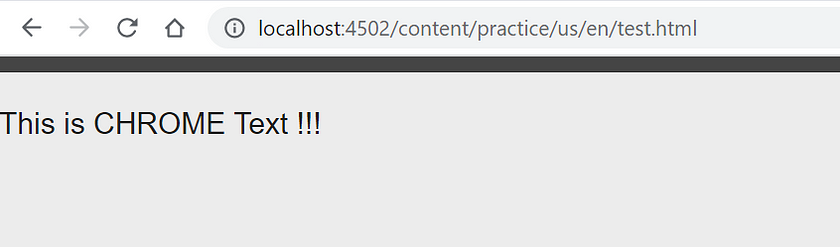
8. Open page in Chrome browser will show below targeted output:
9. Open page in browser other than Chrome will show below targeted output:

ContextHub View
Below is the ContextHubPersistence object under Application tab which helps us to resolve context:


Imran Khan
Specialist Master (Architect) with a passion for cutting-edge technologies like AEM (Adobe Experience Manager) and a proven track record of delivering high-quality software solutions.
- Languages: Java, Python
- Frameworks: J2EE, Spring, Struts 2.0, Hibernate
- Web Technologies: React, HTML, CSS
- Analytics: Adobe Analytics
- Tools & Technologies: IntelliJ, JIRA
📝 Blogs
javadoubts.com © All rights reserved