XML Based Validation
In earlier topics, we had a discussion over Java based validation using addFieldError and addActionError.
In this tutorial we will be having a discussion over XML based validation.
Note: Before working on ActionSupport class to show field errors, please create Struts project using this Link.
Follow below rules to create validation using XML file:
- Create validation XML file with the same name of action as show below:
<action_class_name>-validation.xml
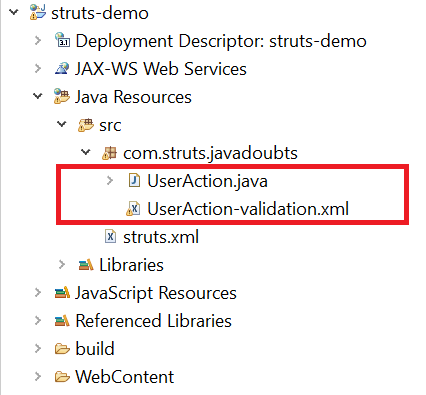
2. The validation file needs to be place in the same folder where action class lies as shown below.

<validators> root tag is to accommodate all field level validation tags.
field tag is to apply validation on specific field. e.g. <field name=”age”>
<field-validator type=”int”> or <field-validator type=”required”> to define field validation type.
<param name=”min”> is to define a condition to add for validation.
<message> is to declare error message to show end user.
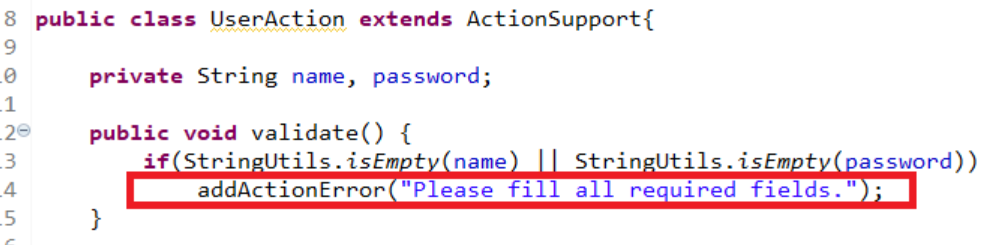
Note: Same thing to validate name and password String can be achieve using UserAction.Java class extending ActionSupport class and override validate() method as shown in below code:
To check complete implementation, please click on link
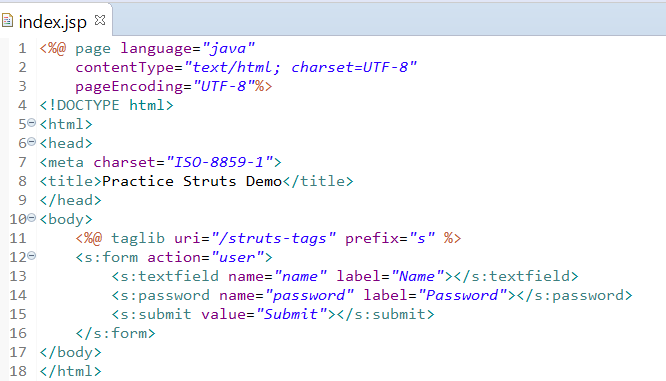
3. Update index.jsp with below content to take name and password as an input.
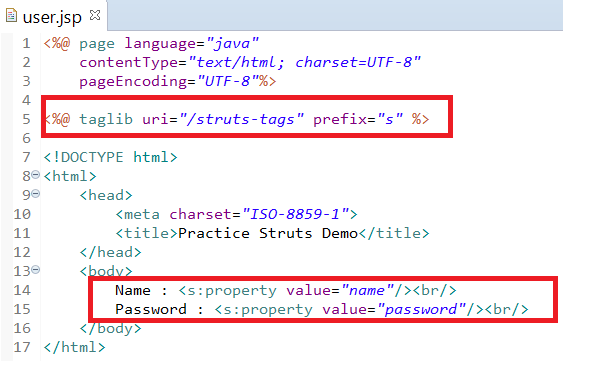
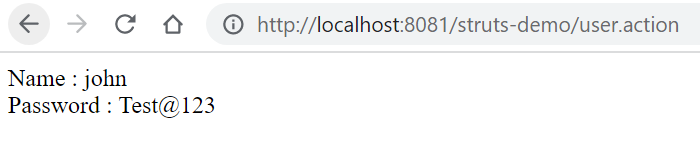
4. Update user.jsp to show name and password enter on index.jsp page
5. Run application and load below page:
http://localhost:8081/struts-demo
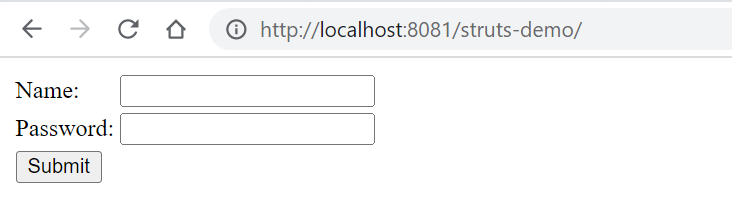
Do not enter name and password having length less than 4 will given below error

Provide name and password length greater than 4 will redirect to user.jsp page and print entered value on index.jsp page.

Imran Khan, Adobe Community Advisor, certified AEM developer and Java Geek, is an experienced AEM developer with over 12 years of expertise in designing and implementing robust web applications. He leverages Adobe Experience Manager, Analytics, and Target to create dynamic digital experiences. Imran possesses extensive expertise in J2EE, Sightly, Struts 2.0, Spring, Hibernate, JPA, React, HTML, jQuery, and JavaScript.