Javadoubts
Struts using annotation
We can create Struts application either with the help of bean.xml where we define action mapping. There is one other way define to create an application struts using annotation. Creating a Struts2 application with the help of Java annotations doesn’t require to have any kind of configuration file.
Let’s discuss more in detail on how to create Struts2 application using annotations.
Important: Below are the minimum jars / dependencies require to create a Struts2 application. These jars / dependencies should support each other internally.
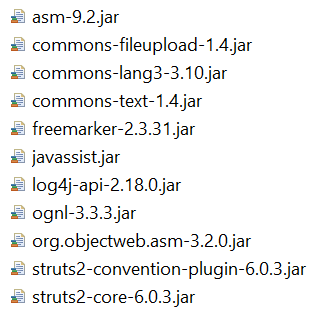
You guys might be thinking from where to get all jars with supported versions ???
For that please use this link to download all the jars. Unzip the downloaded file copy paste all required jars inside libs folder inside project.
We are going to use Eclipse as an editor to develop Struts application using annotation.
Follow below steps to create our very first Struts application project.
1. Open Eclipse.
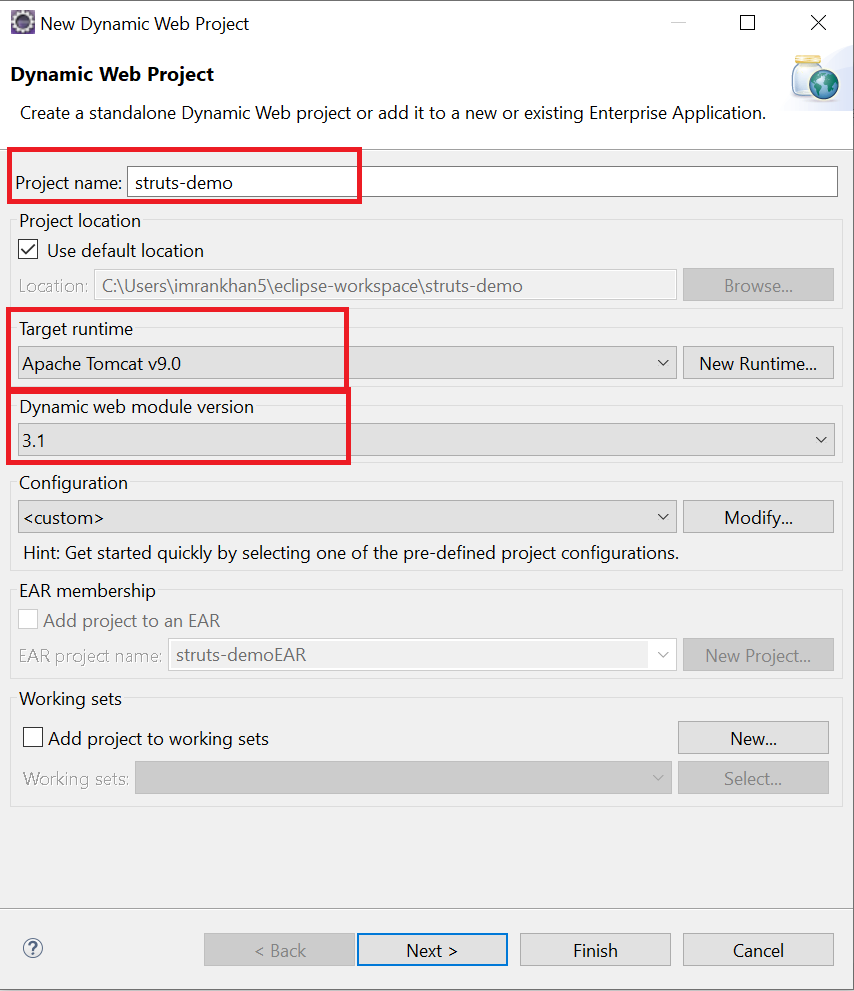
2. Click on File in top navigation menu and than click on new. There will be an option Dynamic Web Project start coming. As soon as we select select Dynamic Web Project below scree will start get appearing.
Provide below highlighted information color in red and click on Next.
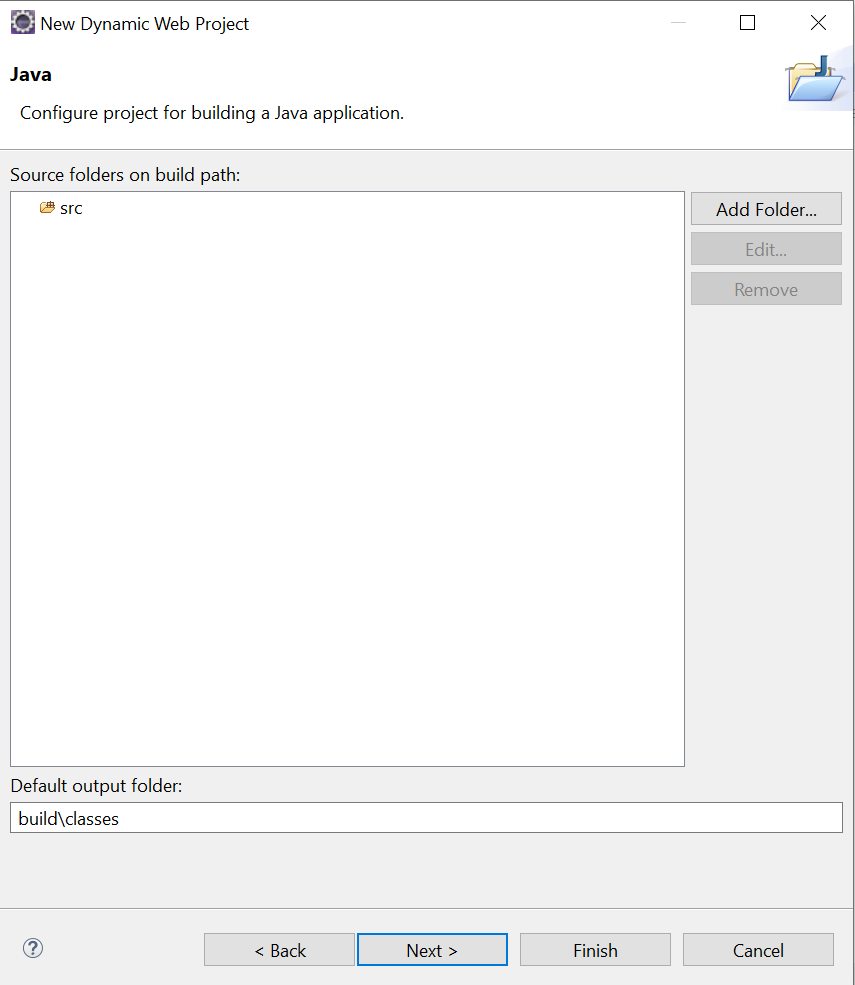
3. Below screen will appear. Click on Next button as no changes are required.
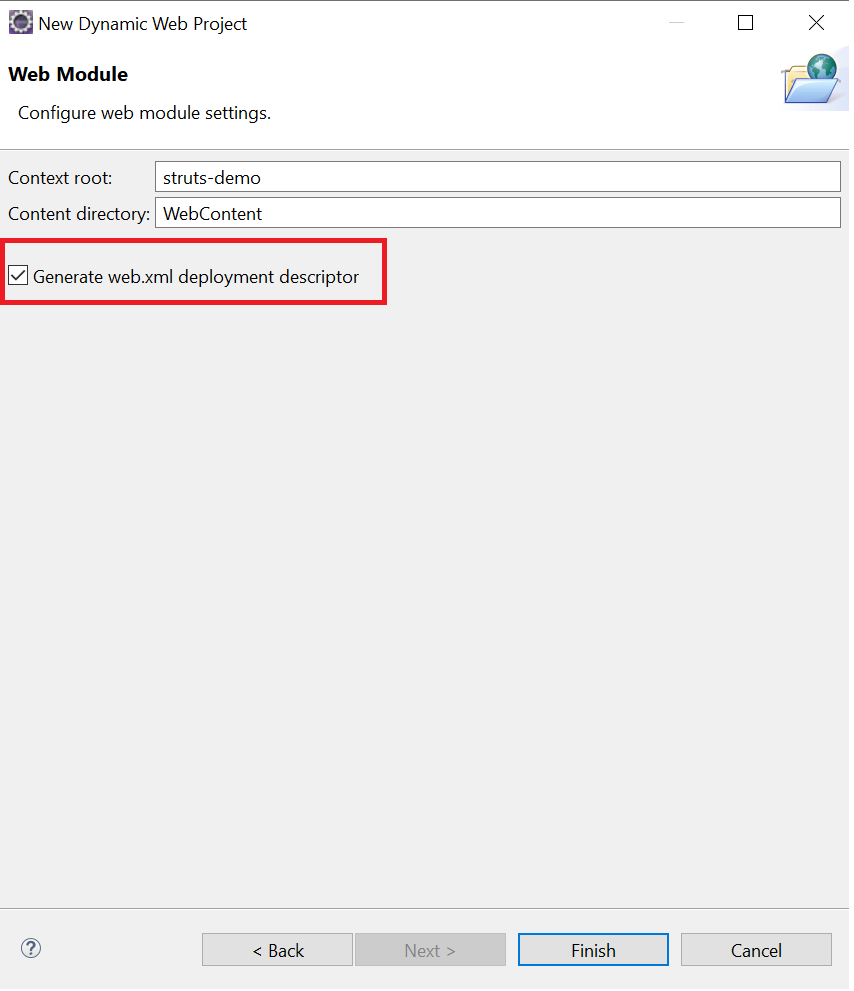
4. In below screen select below highlighted checkbox to generate web.xml file also as part of this project.
Click on Finish will create struts project.
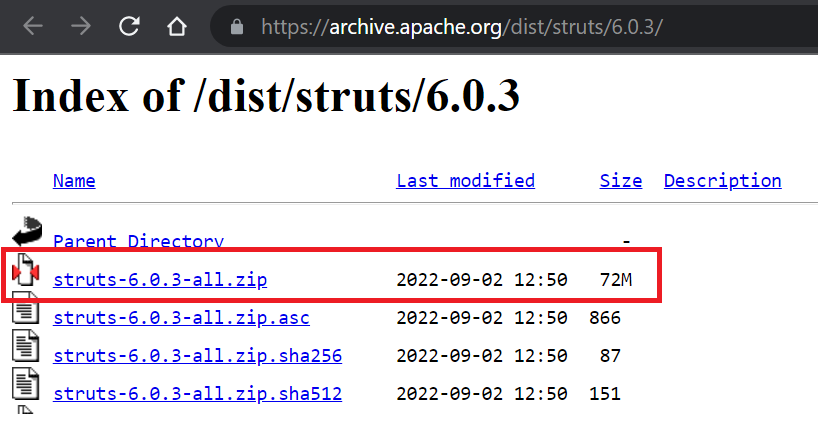
5. Use this link to download all the below highlighted zip.
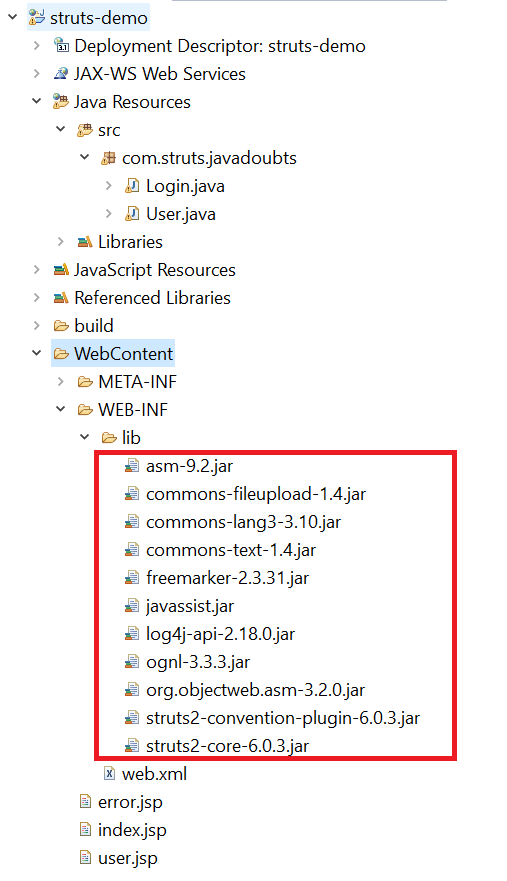
6. Unzip the downloaded file and copy paste below highlighted required jars inside below libs folder project.
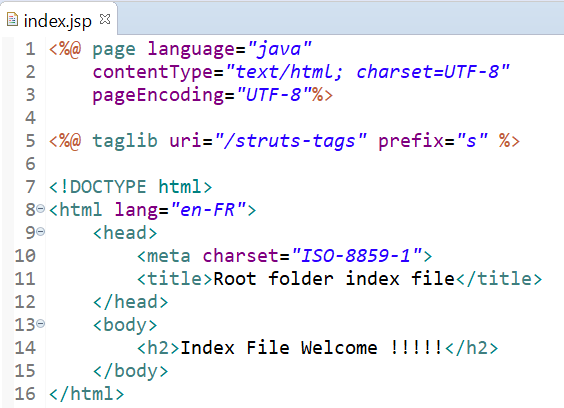
7. Create index.jsp file inside WebContent folder and place below content as shown below.
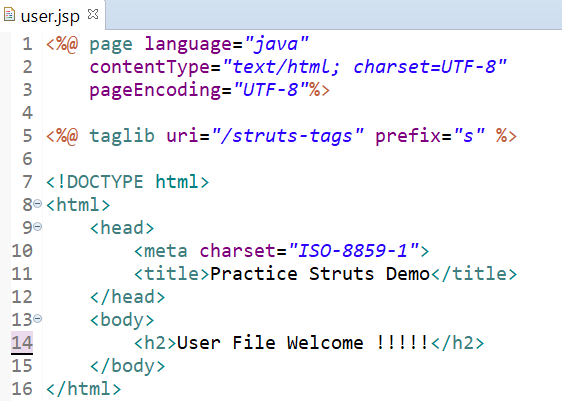
8. Create user.jsp file inside WebContent folder and place below content as shown below.
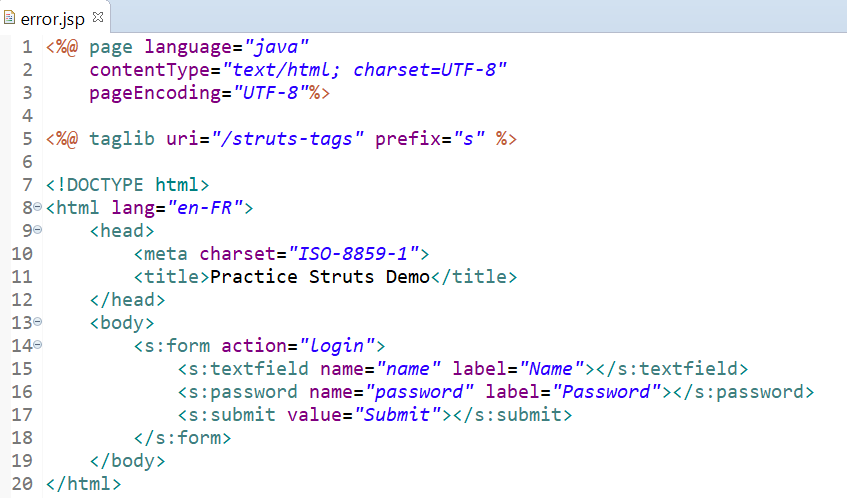
9. Create error.jsp file for future reference inside WebContent folder and place below content as shown below.
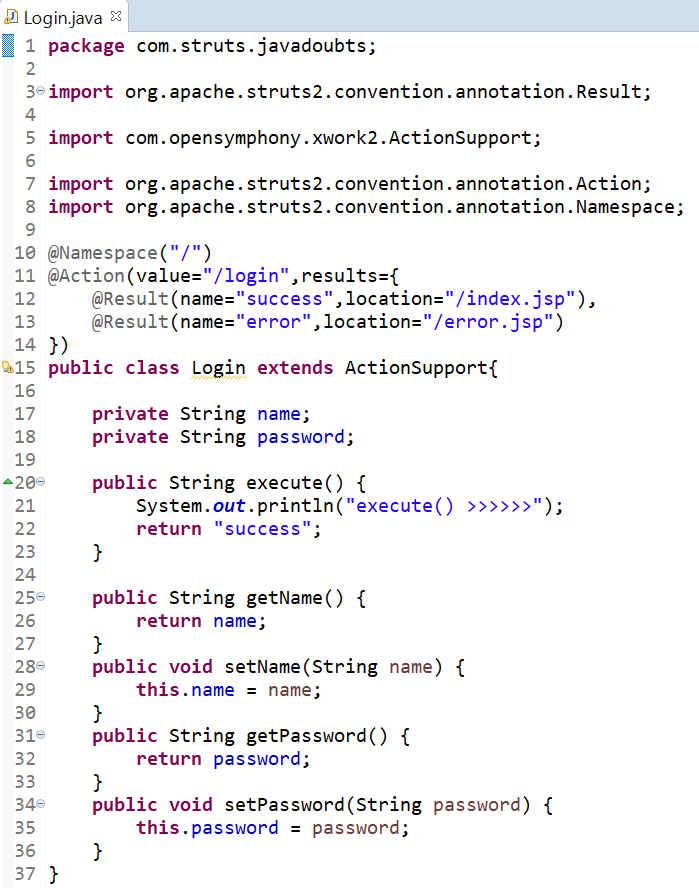
10. Right click on src folder and create a package with name com.struts.javadoubts and create Login.java action class file with below content.
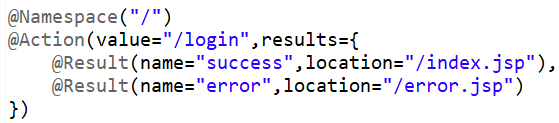
@Namespace: It allows us to define a namespace for action.
@Action: Helps us to declare a class as an action. We can also define Result as part of action annotation using @Result annotation.
Note: By default Struts will always look for execute method if not defined.
@Result: Allows us to create a request and response mapping.
Note:
Below @RequiredFieldValidator annotation will help us to add field level validation error.
@RequiredFieldValidator( message = “This is a required field.” )
Example:
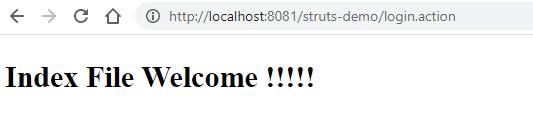
If we hit below URL, it will look for an action mapped to this URL. In below code we have declared an action and given URL as /login.
execute() method from Login.java class will return a String as it is returning success.
success as a String will get map with @Result annotation name attribute.
The same success as part of @Result annotation mapped with location String.
location attribute from @Result tag will help to load respective jsp file.
http://localhost:8081/struts-demo/login.action
11. Create User.java action class file with below content in the same package where we created Login.java class file.
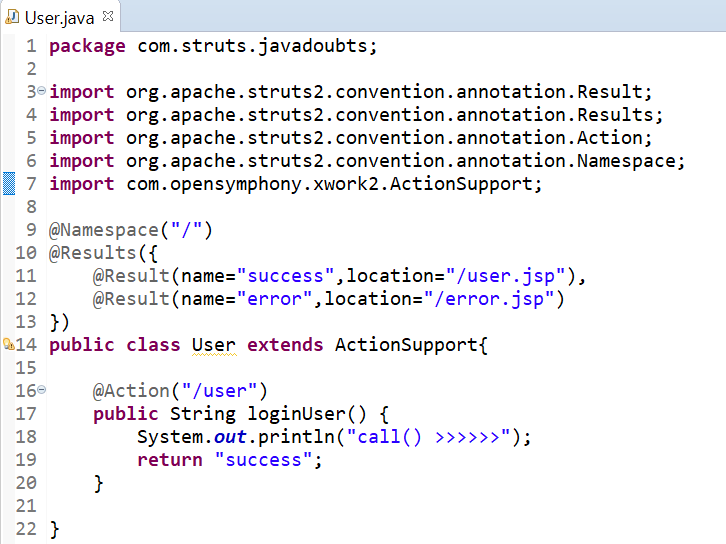
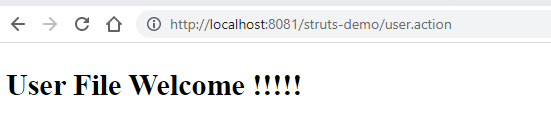
Note: We have defined @Action annotation on top of loginUser() method value as “/action”. Below URL will directly target method.
http://localhost:8081/struts-demo/user.action
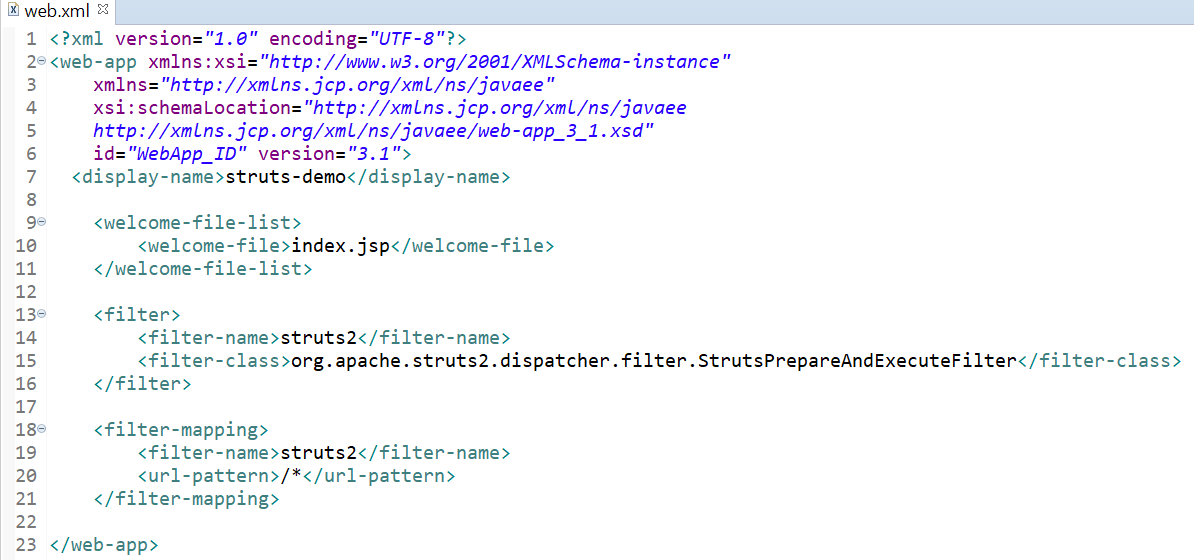
12. Below is the content place inside web.xml
13. Right click on the project and than Run As → Run on Server will start the struts2 application.
http://localhost:8081/struts-demo/user.action
http://localhost:8081/struts-demo/login.action

Imran Khan
Specialist Master (Architect) with a passion for cutting-edge technologies like AEM (Adobe Experience Manager) and a proven track record of delivering high-quality software solutions.
- Languages: Java, Python
- Frameworks: J2EE, Spring, Struts 2.0, Hibernate
- Web Technologies: React, HTML, CSS
- Analytics: Adobe Analytics
- Tools & Technologies: IntelliJ, JIRA
📝 Blogs
javadoubts.com © All rights reserved