Before creating an instance let’s first try to understand two different unique instances as author and publish require for end to end development.
Author Instance
Author instance is completely responsible for content and asset authoring which can be only be handle admins and content authors. It is generally hosted on 4502 port.
To create an AEM instance it required to name AEM jar file as cq65-author-p4502.jar
Content will be available to public or end users once it is activate or published.
Below is the button to publish content to publish environment.

Publish Instance
Publish instance is mainly a end user website where we do not edit or author content. It is generally hosted on 4503 port.
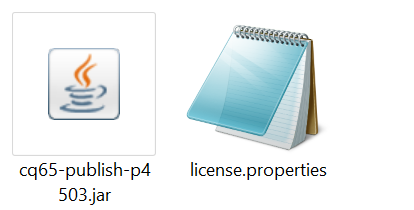
To create an AEM instance it required to name AEM jar file as cq65-publish-p4503.jar
Content will be available in publish instance as soon as it is activate / publish / replicate from author instance.
We can Unpublish the content also if we want to remove content from live site or available to end users.
Publish instance all called publisher.
We can have multiple publishers for a single author instance to distribute the page access load if we are expecting large number of users.
Follow below steps to create an AEM instance:
- To create an AEM instance we need to have AEM Jar as well as a valid license in the same folder. There is no free trial as AEM is an enterprise application software.
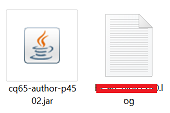
2. Double click on the jar file to create a brand new AEM instance. After clicking on AEM Jar will open below window. It will take good amount of time around 15 to 20 min to start AEM for first time. Next time onwards it will take max 5 min to start the instance.

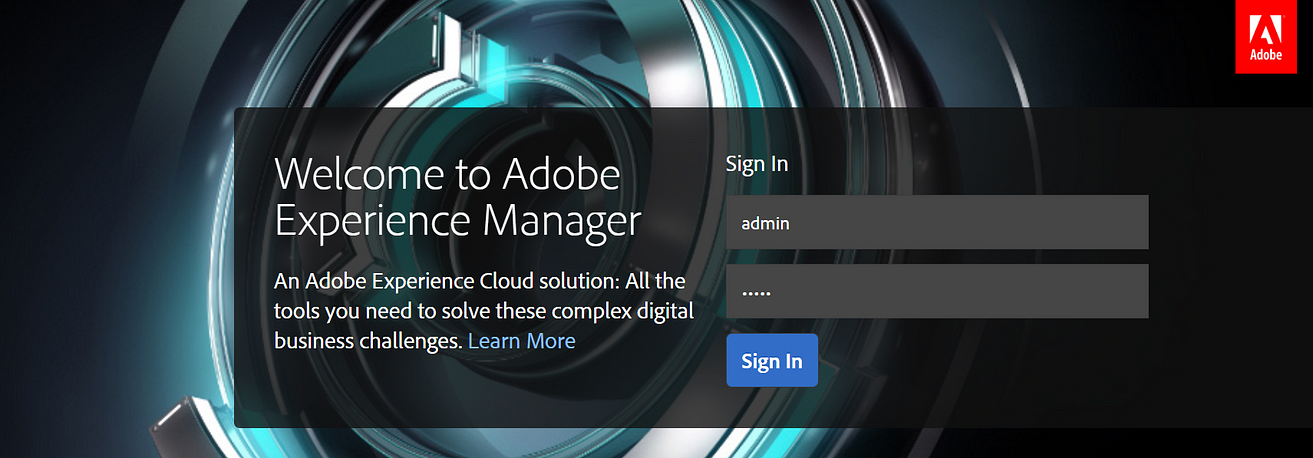
3. Once the AEM instance is up and running, it will open a browser with the below page open.
Provide username and password as admin which is OOTB that can also be change.
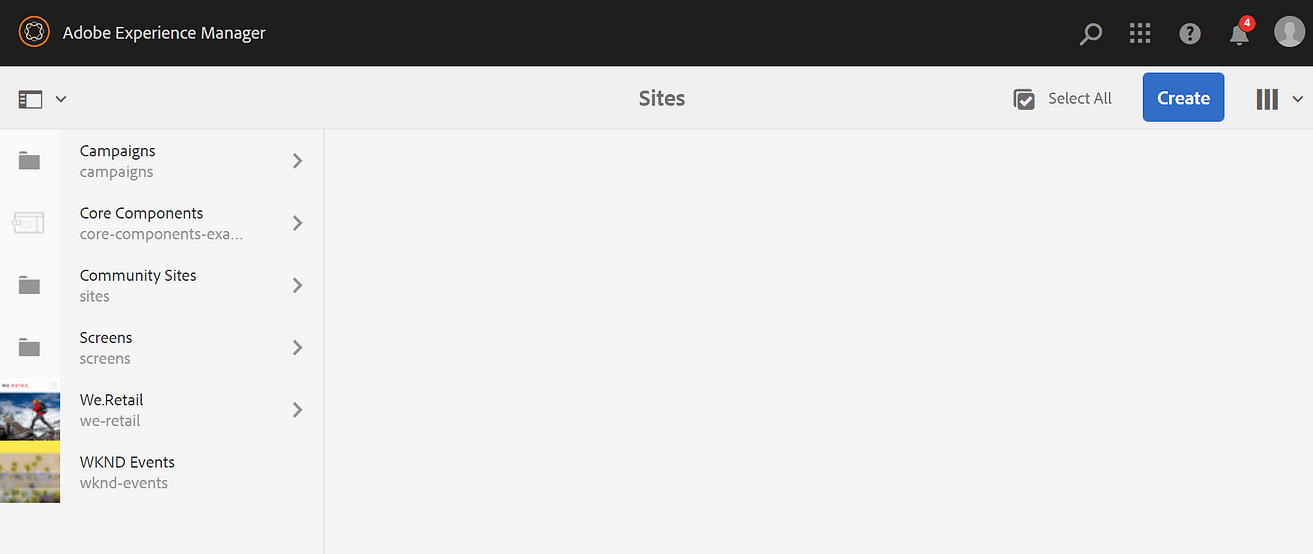
4. After login it will open below screen:
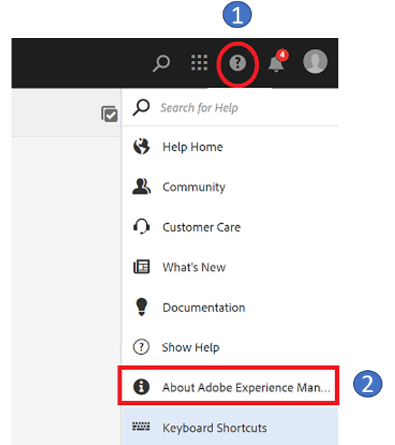
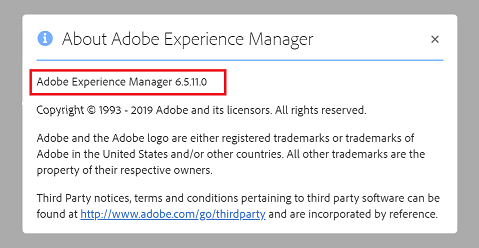
5. Clicking on below question mark sign will help us to see Adobe Experience manager version. Currently, we are having 6.5.0 version is installed.
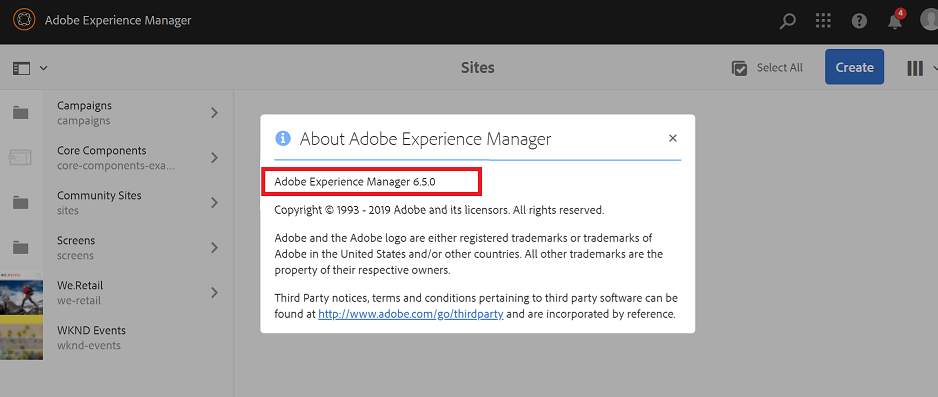
6. Below are the important URL’s which we be will using most of the time working on AEM. This is just for information, and we will be discussing it later in more detail.
Content Page URL for all content / website pageslocalhost:4502/sites.html/content
Asset / DAM Page URL for all media files
localhost:4502/sites.html/content
Code Editor URL to access code file
localhost:4502/crx/de
Package Manager URL to access, build and install code and content packages.
localhost:4502/crx/packmgr
System Console Bundle to access all bundles or jar files. It helps us to check bundle status as install, active, resolved, etc.
localhost:4502/system/console/bundles
System Console Components to check both out of the box and custom components.
localhost:4502/system/console/components
System Console Configurations to check and manage all the out of the box or system level configurations
localhost:4502/system/console/configMgr
7. If require and project is asking for specific AEM version. we can install same latest Service pack which can be installed from below Adobe Software distribution URL https://experience.adobe.com/#/downloads/content/software-distribution/en/aem.html

8. We are going to Install latest Service Pack as 6.5.11 as part of current installation. In your case it may be a different or higher version.
Go to below crx package manage to install 6.5.11 service pack and click on upda package option highlighted as red in color
localhost:4502/crx/packmgr
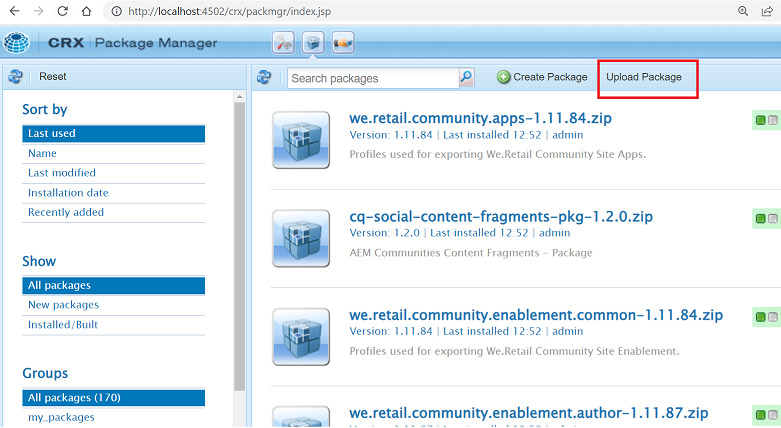
9. Select required service pack and click on OK will upload the zip file.
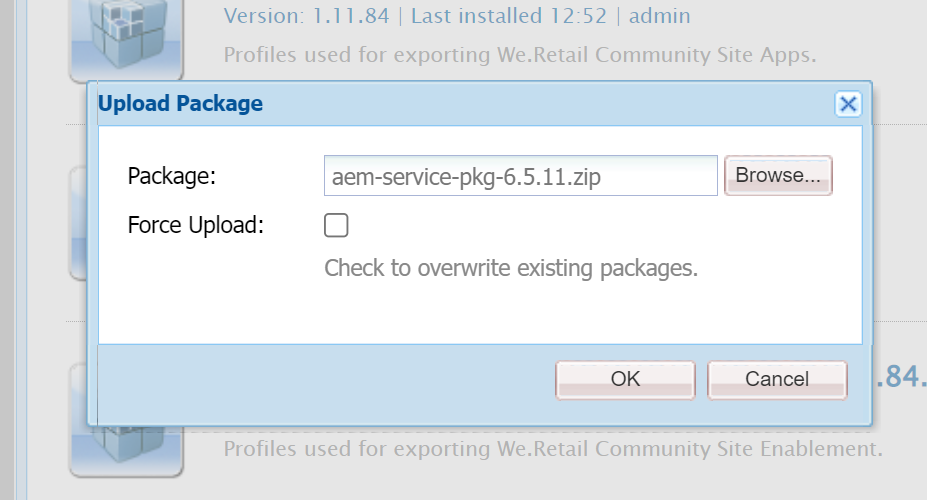
10. Click on install button as mentioned in below screenshot will install the service pack and upgrade the version from 6.5.0 to 6.5.11.0.
After installation process is complete please wait for at least 15 to 20 min.
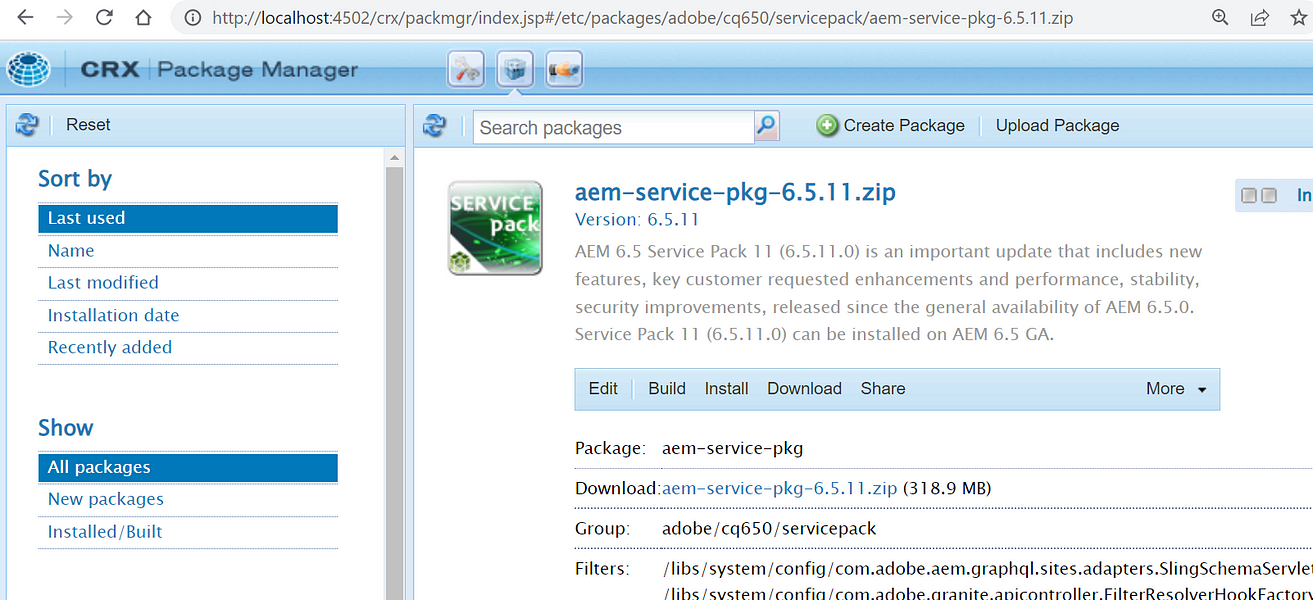
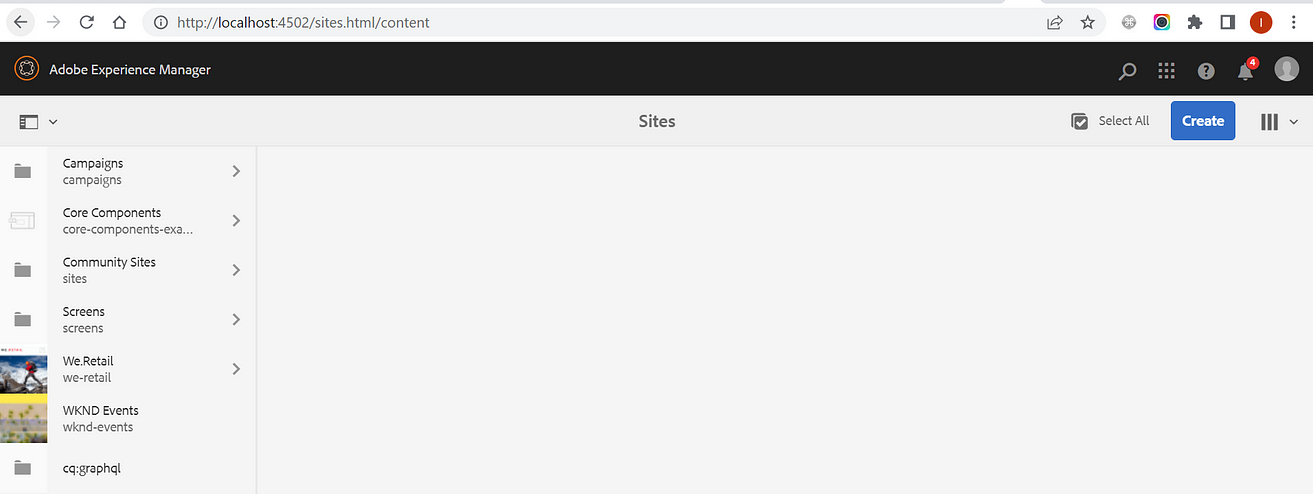
11. Hit below URL to verify if installation is successfully done. Please wait for 10 min if it is not loading proper page or giving an error.
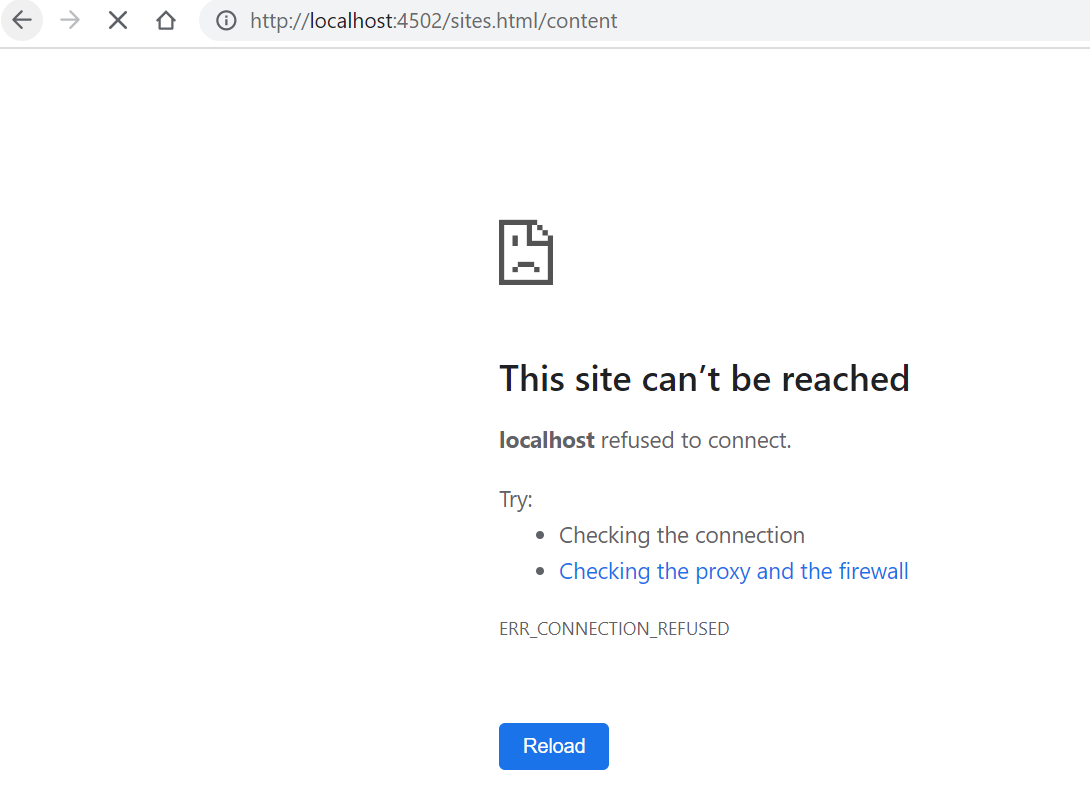
12. It will load below page if the installation is successfully done.

13. Again check version using step number 14 will show below updated version.
Similarly, we can create publish instance after creating publish folder. Place both jar (cq65-publish-p4503.jar)and license file in the same publish folder.
Note: Generally, we don’t create publish instance in local until it is required.
AEM provides out of the box default Core Components and We Retail project to learn core feature and go through the examples.
We will have a detailed discussion later on the same.

Imran Khan, Adobe Community Advisor, certified AEM developer and Java Geek, is an experienced AEM developer with over 12 years of expertise in designing and implementing robust web applications. He leverages Adobe Experience Manager, Analytics, and Target to create dynamic digital experiences. Imran possesses extensive expertise in J2EE, Sightly, Struts 2.0, Spring, Hibernate, JPA, React, HTML, jQuery, and JavaScript.
